Xtra Help: Using Design Thinking to Organize Your PBL Classroom
I’ve written previously about how project-based learning is the future of schools—a future many…
I’ve written previously about how project-based learning is the future of schools—a future many schools are making a reality now. PBL is a teaching method where students gain valuable knowledge and skills that create authentic learning experiences. PBL effectively promotes meaningful, engaging learning–one of XQ’s Design Principles, a useful tool for educators to use when transforming their schools.
But project-based learning can be incredibly messy and complex. I’ve found that design thinking can help with how a project is organized and ensure it meets its desired outcomes.
Design thinking is an approach to solving problems and organizing projects. It is a popular strategy used in business, tech, and design to better serve clients’ needs. For educators, design thinking can help solidify a project’s purpose and provide students with clarity and guidance.
I’ve led many projects throughout my years in the classroom, guiding students to build a micro-museum (small exhibits showcasing different aspects of our local community), establishing a sensory garden, designing artificial coral nurseries, and creating a documentary about human rights. Each project had its pitfall, and every time I learned more about how to make a project rigorous, successful, and authentic. In each one, I’ve found greater success by learning how to use design thinking to organize class projects.
Below is a list of guiding practices you can utilize to help enhance and successfully roll out an authentic, rigorous project.
Designing a Project-Based Learning Classroom
I was introduced to design thinking when I started teaching at PSI High, an XQ school in Sanford, Florida. The curriculum was focused entirely on PBL, which at times felt overwhelming. When the weeds got thick, design thinking helped us clear a path.
We started with how the classrooms would approach learning for the students. We used design thinking to plan out the tenure of class projects, teaching students how to apply the strategy appropriately. Over time, we also learned how to incorporate it into our professional development to improve our teaching practices. While plenty of resources are available to learn more about design thinking, I’ve found great success and insights from Stanford d.School, which houses a large library of resources to promote active, student-centered learning in the classroom.
The d.School highlights five distinct sequences of the design thinking process that can create a guiding structure for your projects. Each sequence is malleable and can be delivered in chunks or over an expanded unit. Below is a list of the sequences and a brief overview of how to approach them in relation to your project.
Empathy
If you’re unsure how to start a project, begin here. Empathy is the phase in which students learn to identify the purpose and meaning of their project by learning more about who they are working with. Empathy is about understanding other people’s needs, their experiences, and how they create an identity for themselves. When students understand this, their project can have a stronger sense of purpose.
For educators, this means helping students use language to conceptualize and understand other peoples’ experiences. In this phase, I would encourage my students to “lean in and listen” as a good strategy for developing their active listening skills. As students learn more about who a project is for, they begin to understand the more valuable why. Interviews and surveys are two foundational activities for this sequence to help students get as much information as needed before moving on to the next stages.
I encourage teachers to revisit this sequence frequently. As the project evolves, it’s good practice to return to the who’s and why’s, especially if students ever feel as though they are lost during the advanced stages. Teachers should connect with community members and ask experts to come speak with students so that they can learn more about the who’s in their project.
Define
In this sequence, content plays a major role in deepening students’ learning. Like Marazano’s theories of teaching, a series of instructional strategies that intentionally focus on effective teaching practices, I approach empathy as though I’m introducing new information to students. Through the define stage, there is a ripe opportunity to activate prior knowledge and encourage students to dig deeper into the context of their project. Activating prior knowledge can help students learn new concepts more effectively.
In the define sequence, students clearly articulate the project’s desired goals and expected demands. For example, if students are restoring a public park, clearly stating who the park will serve and why the restoration is necessary will provide clarity. While it’s okay for students to be confused and ask questions, we want to ensure their questions are productive. “What are we doing?” can mean two separate things. If they’re asking to remember the purpose, it means students are looking for consistency in a productive sense; they understand the desired outcomes and want to ensure they’re on track.
On the other hand, “what are we doing?” may also be a sign of uncertainty. Without a clearly defined sense of purpose, it’s hard for students to want to own their learning. They could become disinterested or unmotivated, making the unintended failure of a project more likely.
As in the empathy stage, a strong way to frame this sequence from the beginning is with the who’s and why’s: Who will the project services, and why is it important? I would argue it’s the most important phase of a project because if students spend a lot of time in this mindset, teachers can lean into inquiry-based models to encourage independent thinking.
Finally, defining is where students can reinforce and continue to build their prior knowledge. Again, activating prior knowledge leads to deeper, more active learning and teaches students how to transfer knowledge when it comes time to employ higher-order thinking skills as the project progresses. Then they can define what the outcomes of success should look like.
Ideate
This is my favorite part of the sequence because this is where the most fun happens. I’ve asked students to reimagine the interior of school buses, envision a community made out of shipping containers, and find a way to automatically dip chicken nuggets while driving safely (yes, we really did this as a theoretical exercise). In ideate, students try to figure out how a solution can look.
Imagination can run wild, and sparks for creativity are ignited here. In ideate, students discover what is possible by looking within and asking, “What can I bring to the table to help resolve the issues?” Ideating is about tapping into what your students are good at and relinquishing ownership of the learning to them more while they explore their capabilities.
Once we can clearly state what we’re doing and who we are doing it for, we can ask the next question: how? To juice student brains into this mindset, I start with a Need-to-Know exercise by asking students to write down every question they can think of regarding the project. No question should be off limits, and it’s important for teachers to add questions alongside students. Some general examples are:
- How do I answer this question?
- Who should I interview next?
- What software do I need?
- What tools are required?
- How can I raise funding?
These inquiry-driving tasks are great for building camaraderie and teamwork by organizing students into small groups. Students can share questions and make connections with their peers as they discover how each other is thinking. From there, I ask students to group questions into categories or patterns to help organize their thinking and put them on a poster or board. As a question is answered, we scratch it off the board. We keep the poster or board in a space that is accessible and add to it as necessary. We can be masters of content, but we want to avoid being gatekeepers.
To help my students better understand ideation, I use the analogy of writing an essay. Students are familiar with starting essays with an outline or a skeleton structure, and during ideation, they’re brainstorming, mapping, and hypothesizing how their projects can come to fruition. We’re thinking about who we’re working with, what the project’s scope is, and what we think it should look like. From here, we’re ready to build.
Prototype
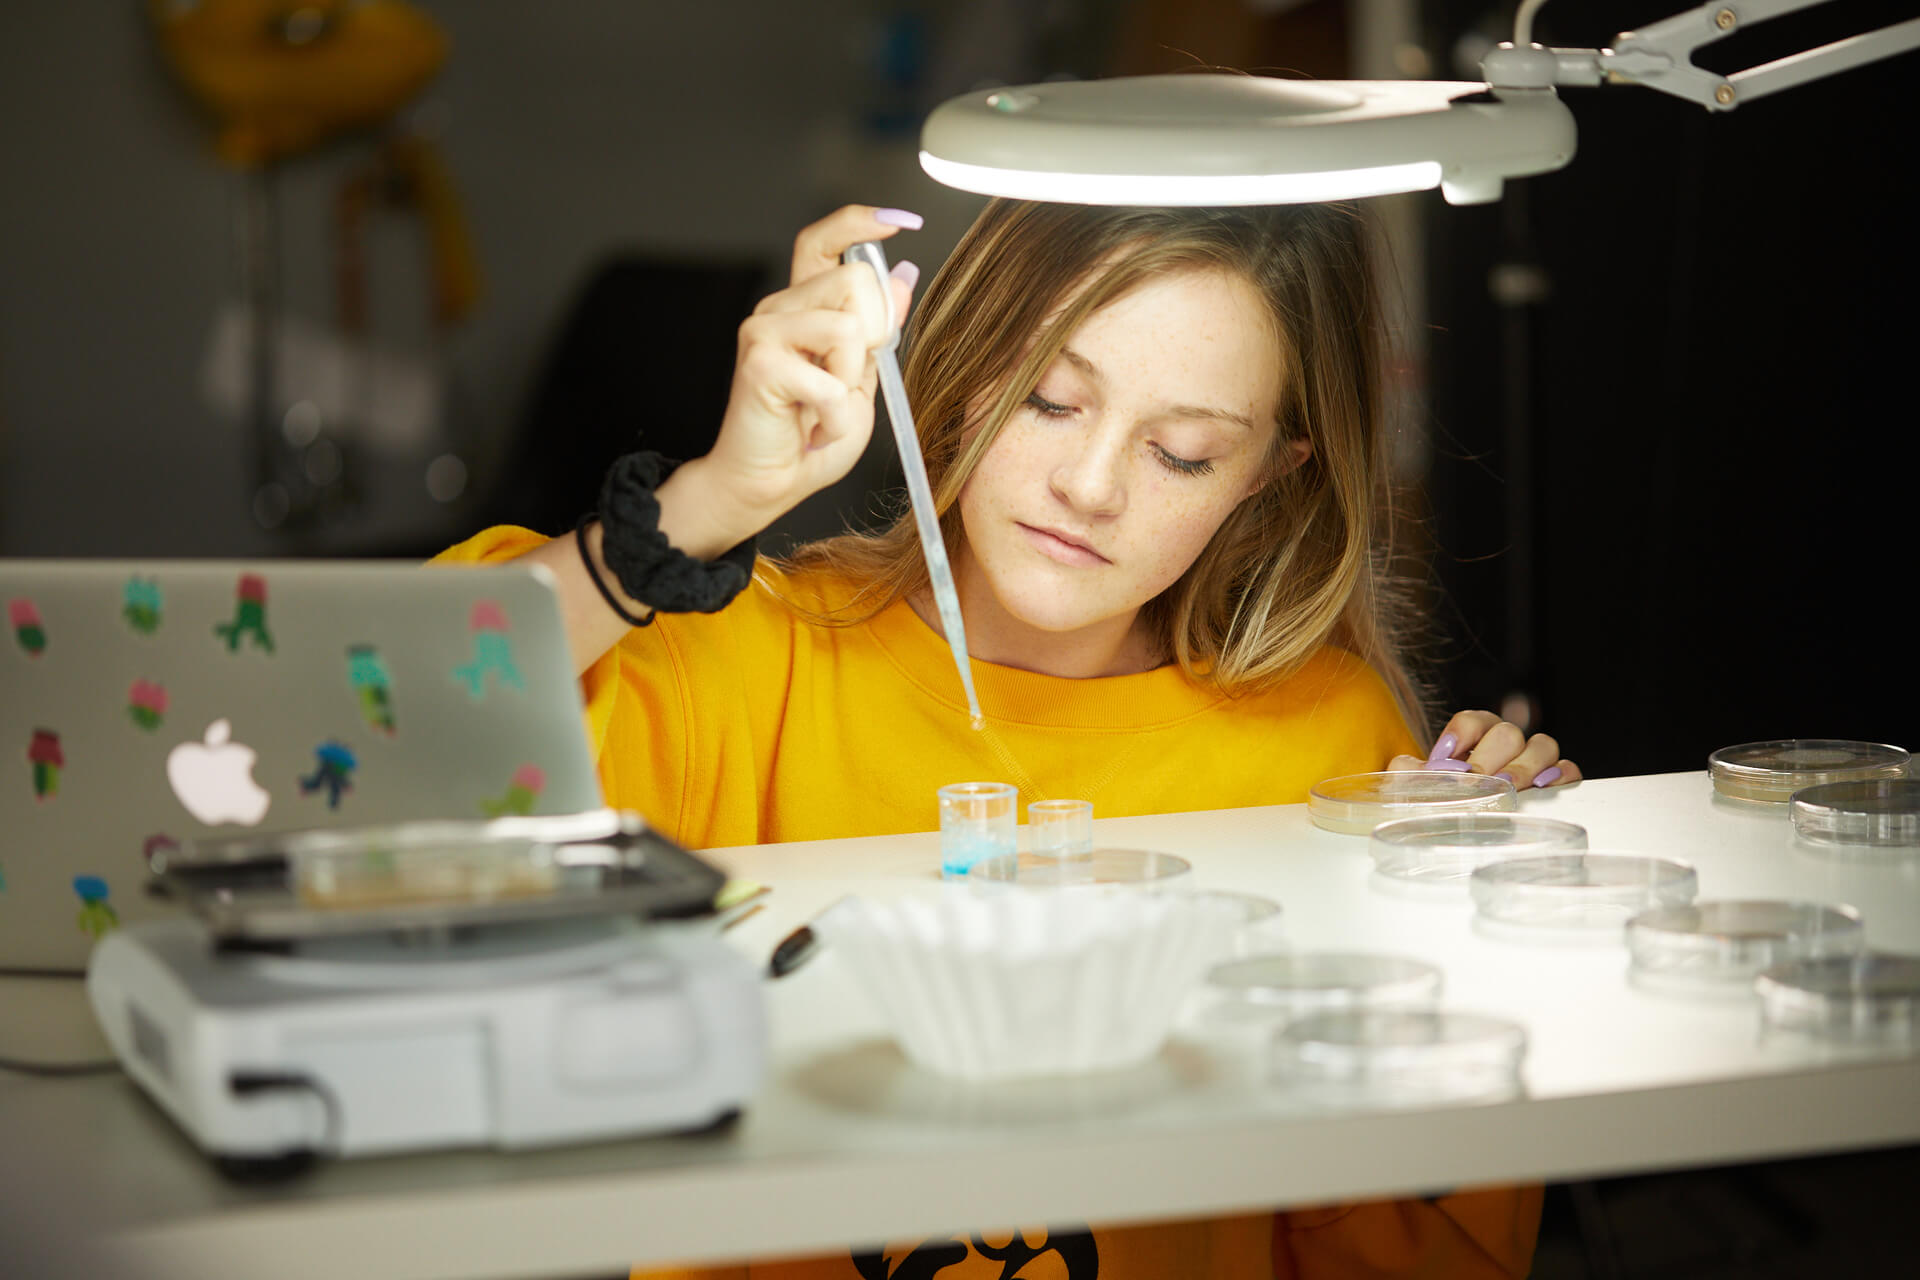
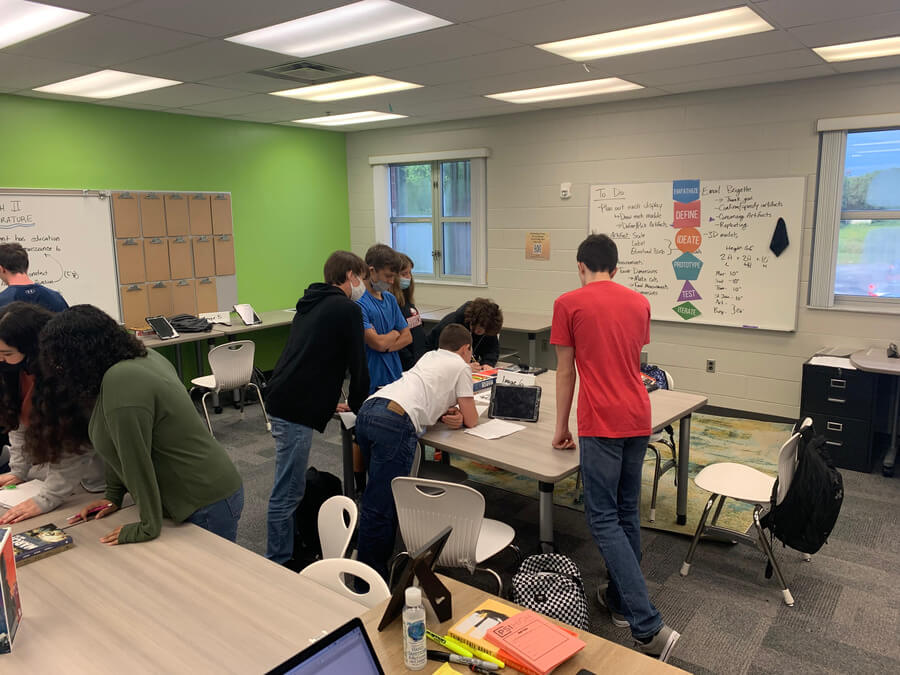
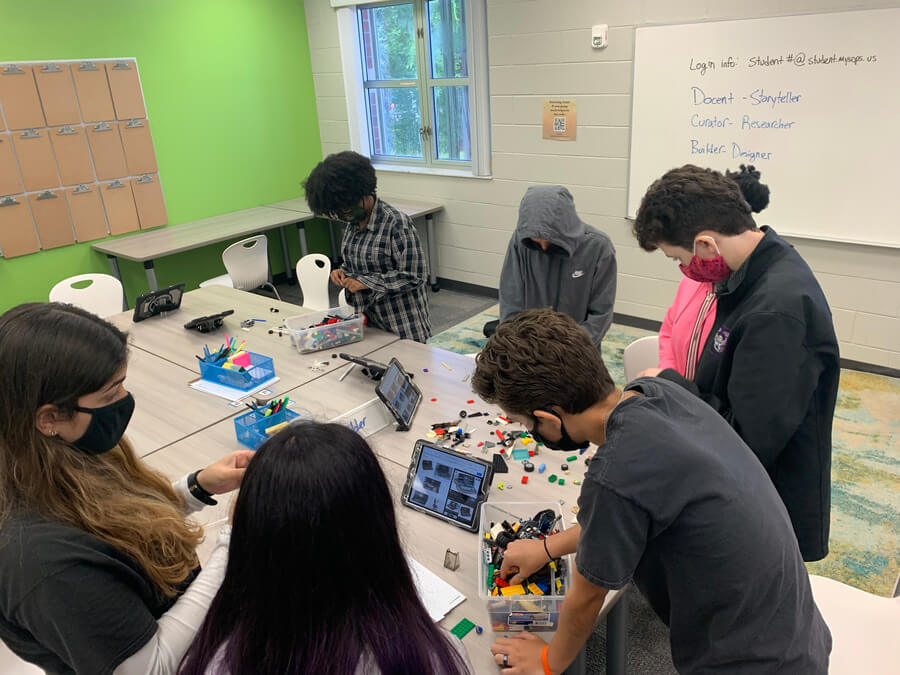
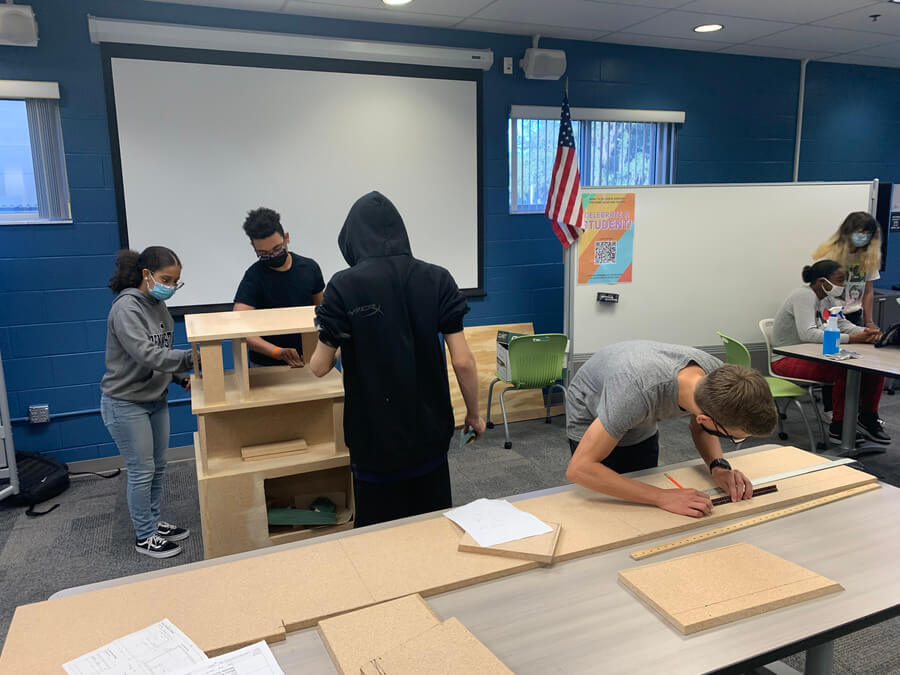
Prototyping is the space to indulge in multi-sensory learning. Roll out the whiteboards, stack up the notecards, sharpen the pencils and dump the LEGO buckets. From my experience, this is the messiest, most rambunctious stage in design thinking. Students’ anxiety is likely to rise here because now is when higher-order thinking skills are applied. In the prototype phase, students should design, construct, and actively apply their ideas to the project.
Because higher-order thinking skills are so demanding in prototyping, scaffolding and differentiation take on a more nuanced role. There is a high risk of failure, which should be 100 percent expected. Using a growth mindset, students can learn from their mistakes. By making a growth mindset the center point for scaffolding, teachers can better manage activities to support student engagement.
Many students will be operating at different levels. As students learn to harness their talents in this sequence, it’s important to keep their motivation levels high by celebrating all their various contributions. Ask students to identify realistic goals and expectations. Have students develop a timeline and use that for both guidance and reflection.
I’ve had some students who are experts in using Adobe design software, some who understand how to use 3D modeling software like it’s tying a shoe, and some who are better with power tools than myself. I encourage teachers to approach prototyping with an asset-based mindset by helping students understand that they don’t need to be experts in everything. A learning outcome of all projects is a commitment to collaboration, which is mastered by being socially aware, building interpersonal skills, and having social agency. These are core competencies in our XQ Learner Outcome, Generous Collaborators. A PBL classroom is the perfect place to develop this outcome.
Test
If ideating is like outlining an essay, then prototyping is the act of drafting. Testing, therefore, is when the rough draft gets edited. Testing can take many phases to complete, and it’s really a practice of developing metacognition skills. In testing, students pause to evaluate their project. In the same way, we use peer-to-peer feedback when helping students learn complex skills and concepts; the same approach should apply in this evaluative phase.
A powerful way to organize the testing phase is to create an open house or gallery walk experience. Students show off what they’ve completed so far and intentionally look for feedback from their peers, teachers, or even community members from outside the classroom. It’s an incredibly vulnerable moment for students, but it’s a chance for them to celebrate their accomplishments and learn from others what is possible. I’ve often tied this with a defense of learning approach where students speak on behalf of their learning accomplishments but make space for feedback and insights.
However, this type of testing isn’t a summative model. In this phase, we’re looking to iterate on the design and return to areas where we believe there can be an improvement in the project. Evaluation and assessment must be designed throughout the project regarding particular standards. Benchmarks and deliverables create the space for authentic assessment, where they can be tied back to the standards. They become inflection points for students to determine whether they can continue with their projects.
It’s important not to treat testing as the summative moment it implies. It’s the moment when assessments are made, but revision should be encouraged. Students should be allotted opportunities to identify where errors have been made and return to those moments for growth and improvement. More about this appears in the iteration sequence below.
Additional Phases
Reflection and iteration are two additional phases that can be incredibly valuable, even if not explicitly included in the d.School models most teachers may find online. Through additional resources and years of practice, I’ve found reflection and iteration to be complementary aspects of the design thinking process. Both add tremendous value in organizing and supporting student projects.
Reflection
In reflection, I begin with a reverse gradual-release model—You Do, We Do, I Do. I ask students to reflect on where they are with the project first. This reinforces agency and gives students a chance to own the learning they’ve experienced and aim to achieve. Any pre-conference structure can work for educators who are looking to scaffold for students. I then ask students to collaborate with their teams and share what they have come up with. I ask them to make connections, identify patterns, and create consensus. From there, I will conference with the groups to provide feedback and insights to help students identify their next steps.
In this sequence, I often give my students the standards and competencies that have been applied throughout the project and ask them to explicitly tell me, “How did you meet these standards?” and “Where was the mastery, and where do you think you can improve?”
Iteration
To put it simply, iteration is returning to the early parts of design thinking to improve the project. We return to the beginning, entering into empathy with new insights from testing and reflection. We may redefine our understanding of the project and develop new ideas. Overall, we seek to improve the design and outcomes simultaneously. I tell my students, we’re not looking to do more work—we’re looking to make the work better.
PBL in Action
Design thinking is messy, but so are projects. Applying design thinking mindsets to any project-based learning unit ensures students get the most out of their learning experiences. It can help teachers construct an authentic, student-centered experience with inquiry-driven models and place-based experiences. It can help teachers construct rigor, implement strategic scaffolding, and develop authentic assessments through deliverables and benchmarks.
Overall, design thinking is a human-centered approach. We’re teaching students how to understand the needs of others and how to build a future that works for everyone, not just a few.
Do you use design thinking in your classroom projects? What other guiding practices and principles do you think educators should be aware of? Share with us what you’ve learned or accomplished.
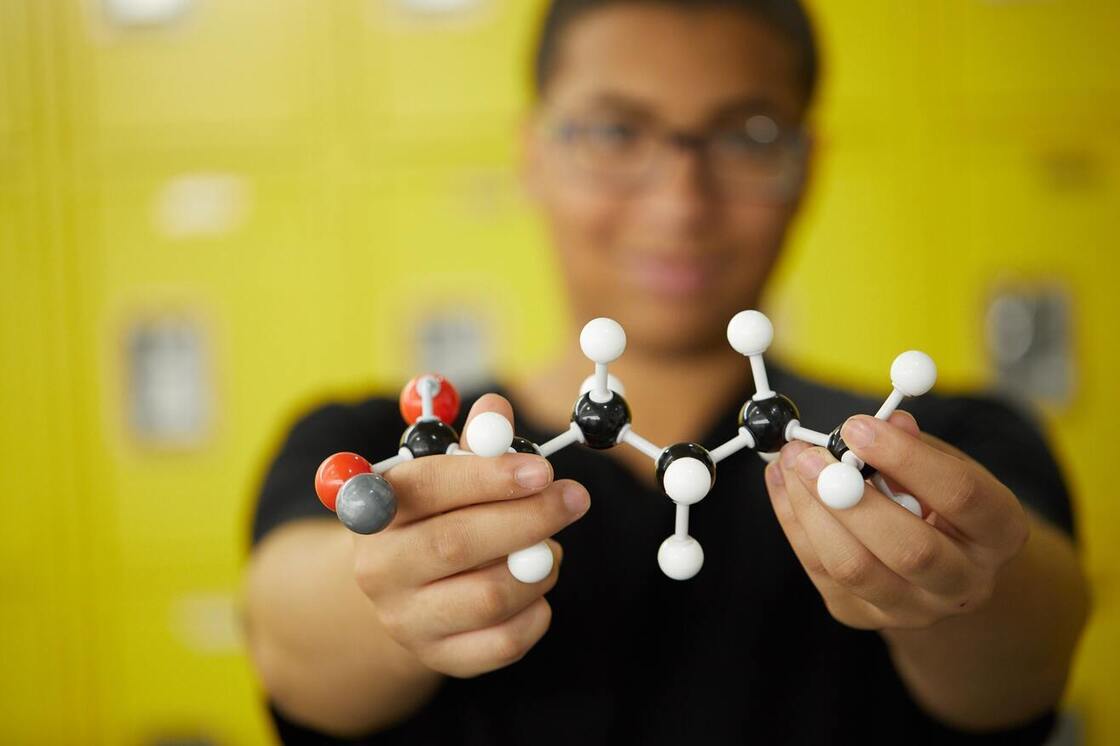
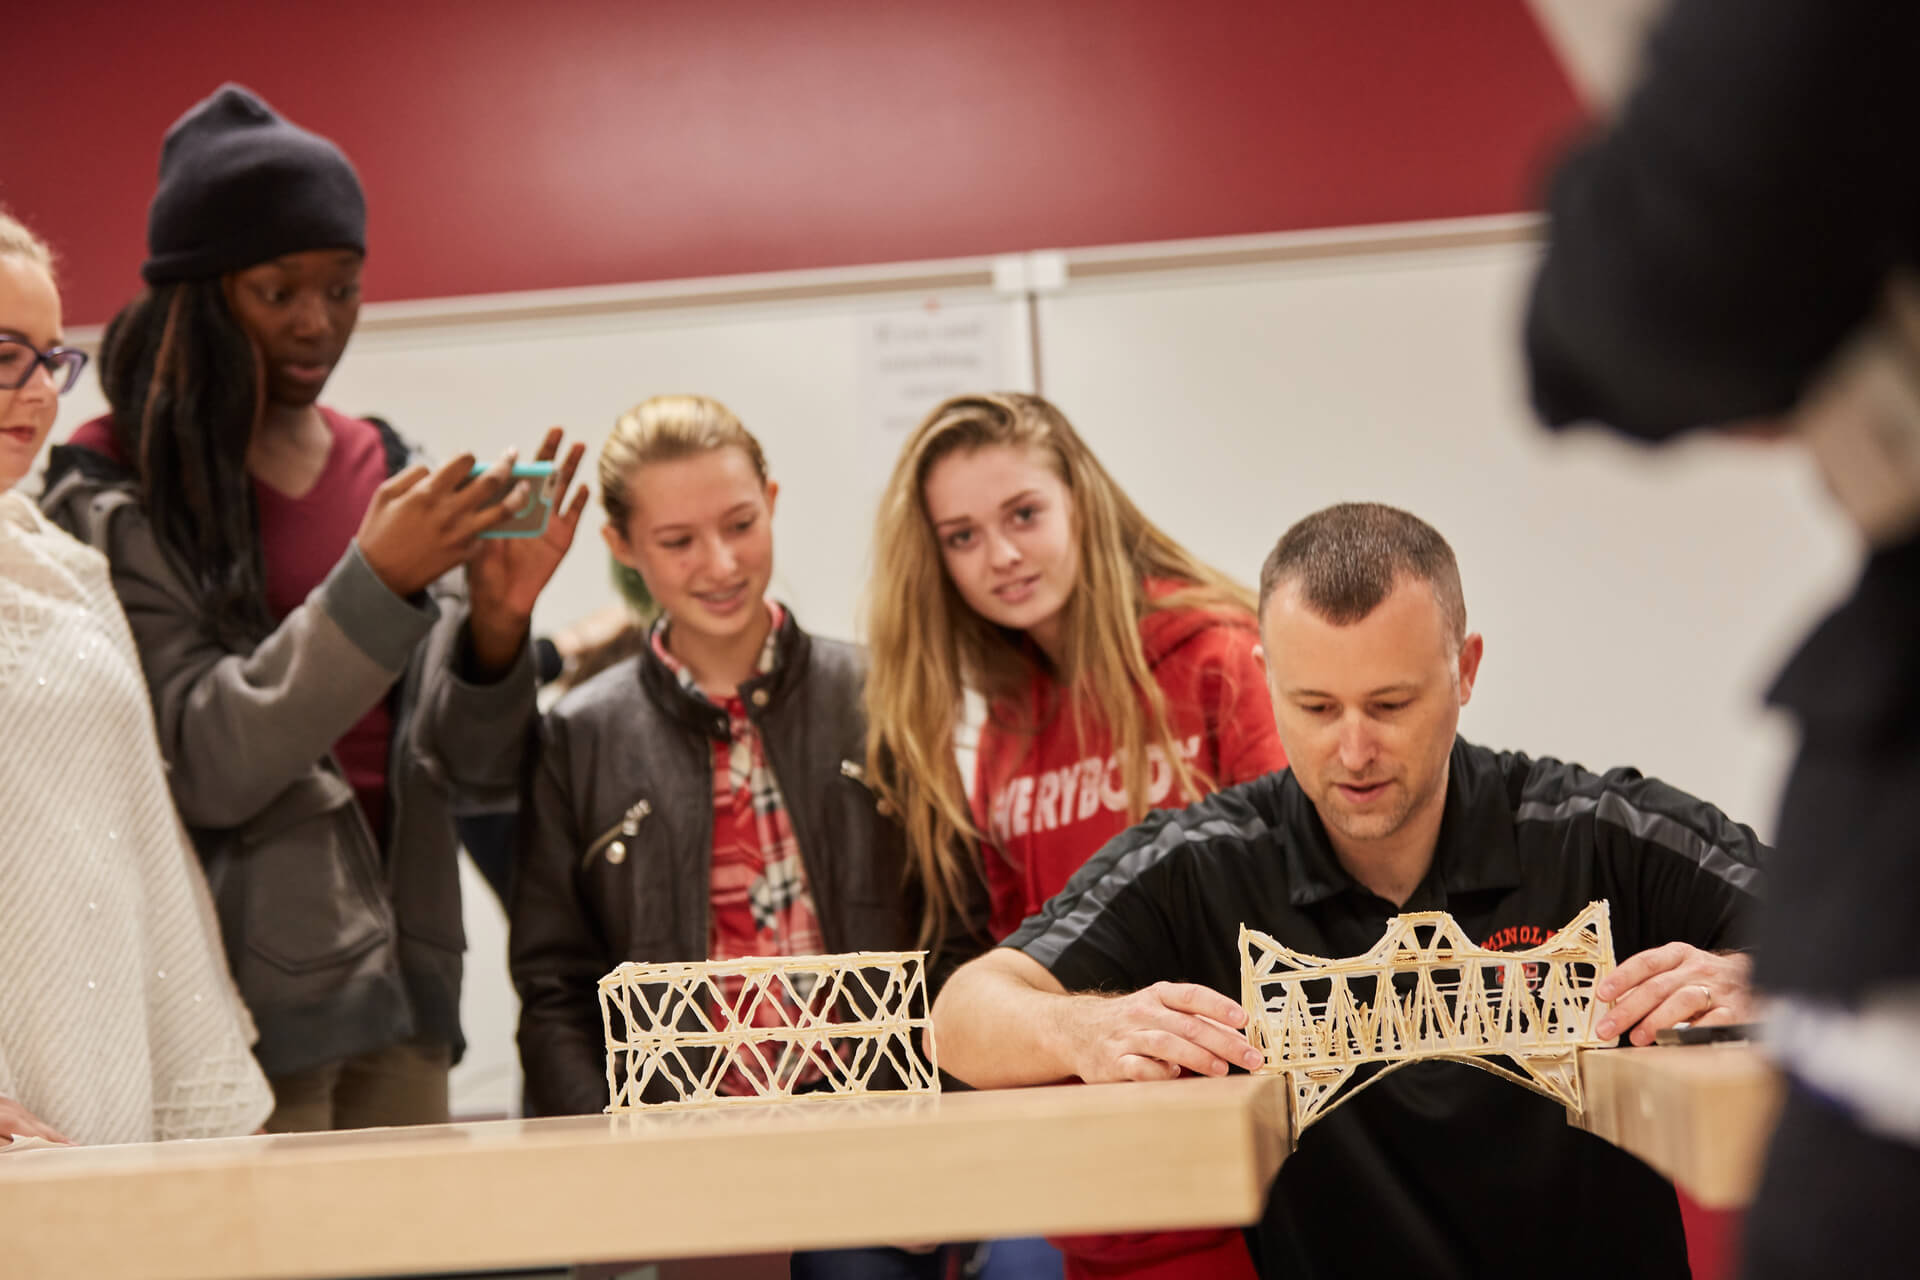
Photo at top by Chris Chandler.